Skip to content

FREELANCE CONTENT CREATIVE

Hello, I'm Rachael. I work as an editor, journalist, copywriter and marketeer. Pleased to meet you!

  • Welcome
  • About
  • Services
  • Blog
  • Photography
  • Contact
  • Twitter
  • LinkedIn
  • Pinterest
  • Instagram
Search

Category: How To

Make your own wedding rings feature in Vintage Life Magazine

1010982_10151551641878883_723215464_n

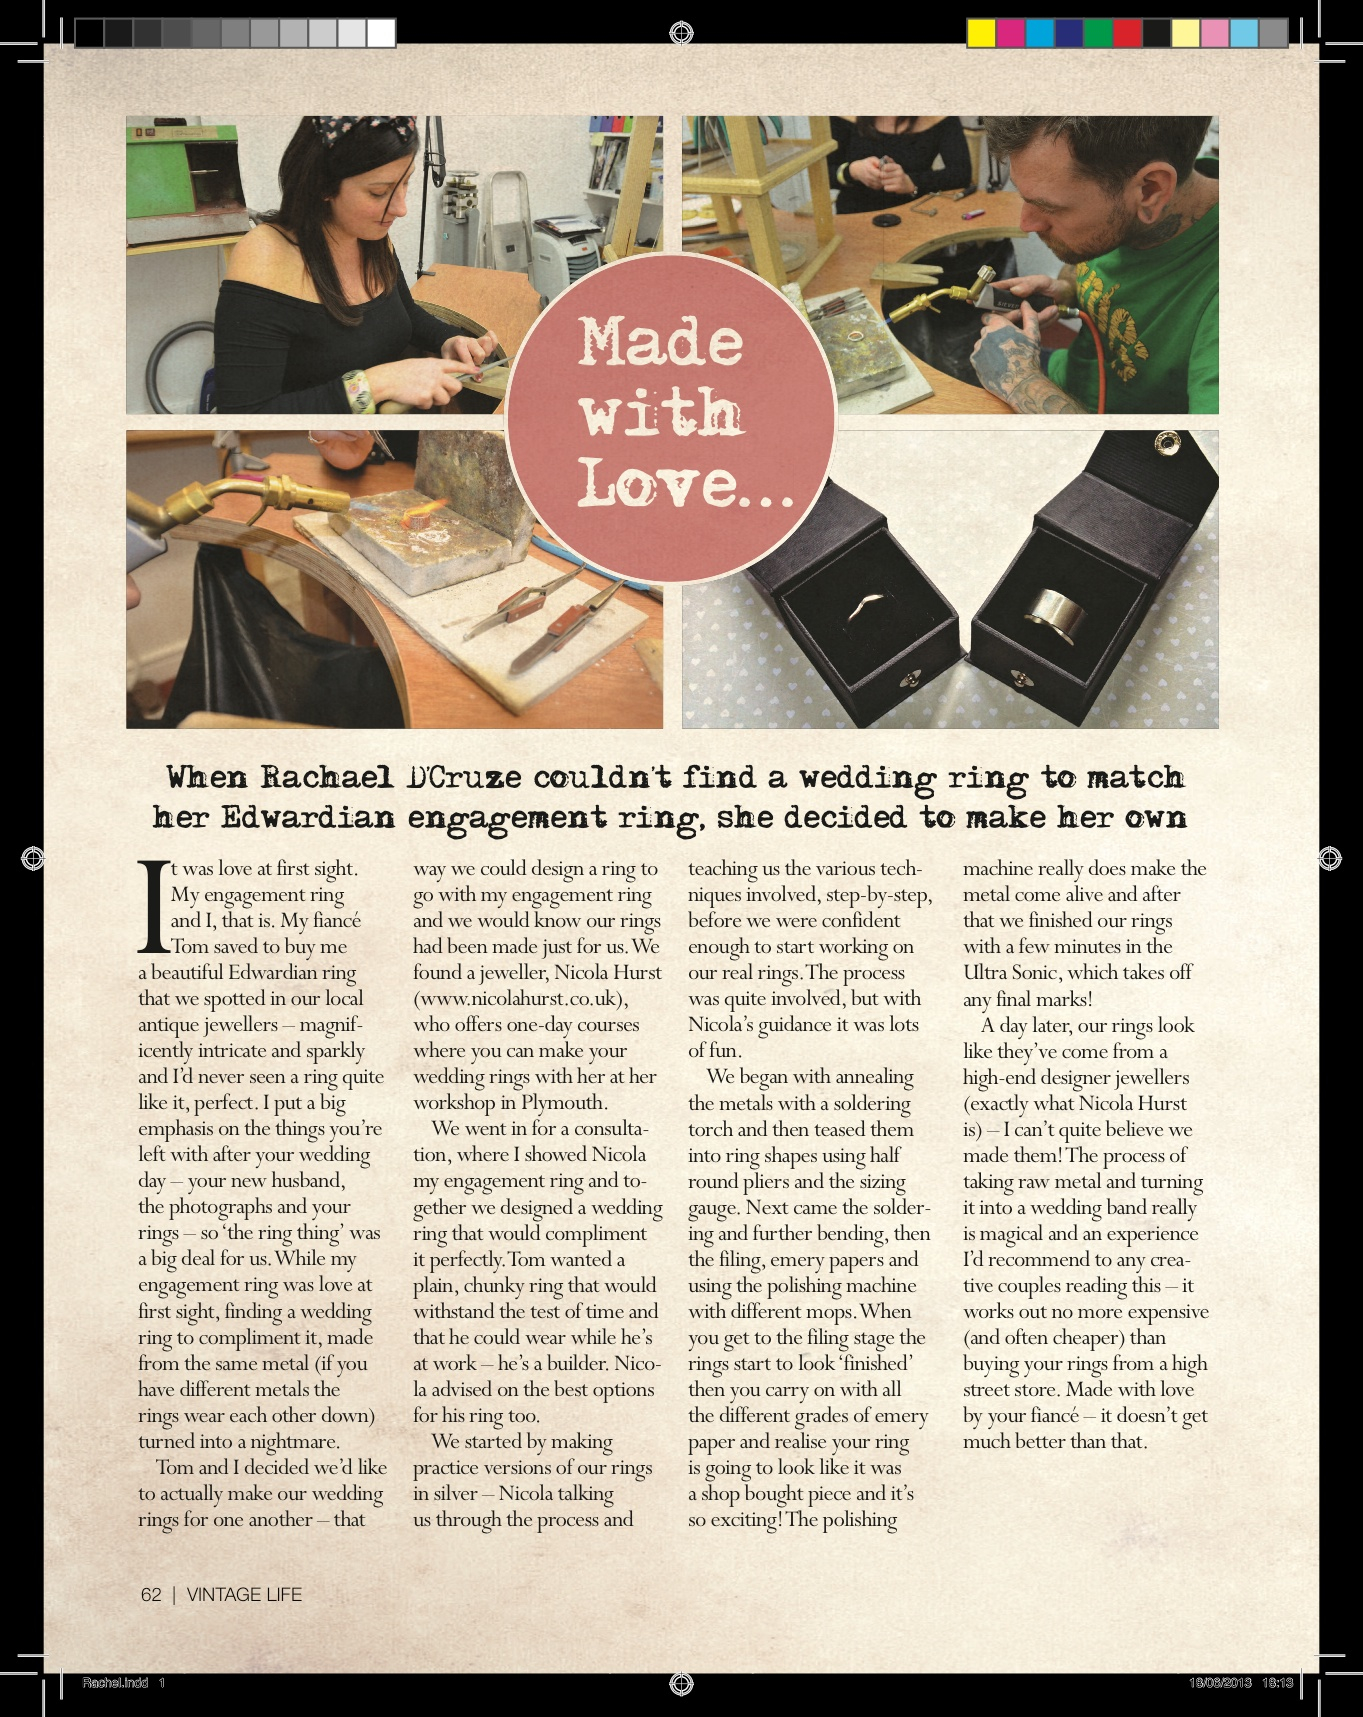
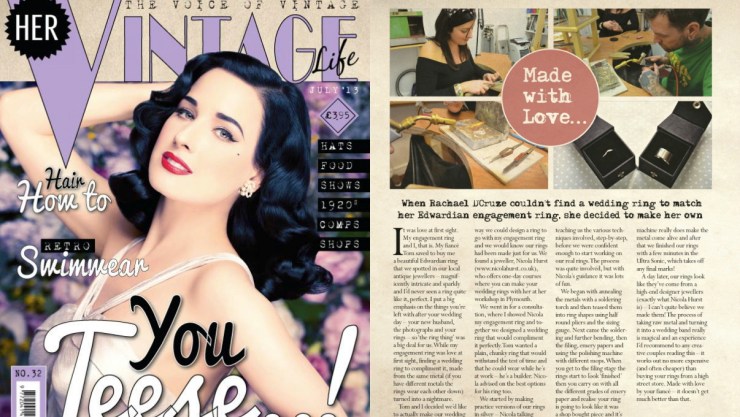
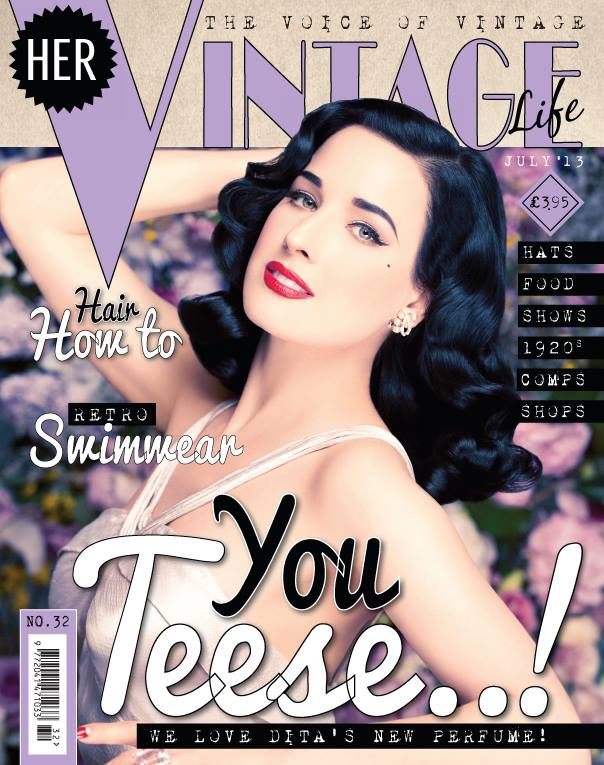
This month I’ve contributed to Vintage Life  – the glossy super glam magazine, full of vintage style. My feature sees me write about my Fiancé, Tom, and I making our own wedding rings, which we did with Nicola Hurst Design Jewellery, Plymouth, who offers wedding ring workshops. It was a brilliant experience, which I’d highly recommend. Take a look at my feature below and pick up a copy of Vintage Life in WHSmith. vintage life

July 2, 2013January 27, 2014

Rachael Sharpe

21167_10150310439704978_1163906943_n

This month my dog, Poppy, makes it onto the cover of June’s Dogs Monthly magazine, modelling my easy make doughnut bed. My tutorial shows readers how to make an attractive bed with snuggly sides in just 7 steps – why not try making one yourself? Mine was made from a old retro curtain, which cost only £3!

IMG_0160

June 20, 2013June 20, 2013

Rachael Sharpe

Chic Dog Feeding Station Tutorial published in Dogs Monthly

In this tutorial for Dogs Monthly Magazine, I show readers how to turn a used crate into a chic feeding station – it’s easier than you might think! What do you think? My pooch seems to like it! 

DM_April2013_p84-85

April 11, 2013April 12, 2013

Rachael Sharpe

How to give your laptop a funky makeover

Laptops can look lacklustre and uninspiring well before they need upgrading. The solution? Cool, cost effective, mini-makeovers that make your PC look fresh and funky. There are hundreds of ways to dress up your PC and give it a new look. This tutorial will have your PC looking fashionable for £5 or less, and you can get the whole job done in around three hours. It’s a fun project to complete, too.

For this project, you need to buy a roll of self-adhesive foil, which is available from most craft and DIY stores. It comes in a variety of different prints and patterns, from leopard print to marble. I opted for a wood effect but you can choose whatever design you fancy. And you don’t need to worry if you change your mind six months down the line – it’s easy to remove the foil with adhesive remover. This tutorial was written for and published in Windows: The Official Magazine.

October 9, 2012

Rachael Sharpe

How to create personalised Royal Mail photo stamps

If  you’ve got something special to send, why not make like the Queen for the day and have stamps printed with your photo on? Your recipients will be treated to mail with a wow factor. It’s the perfect way to inject some extra personality into invitations, announcements and thank-you notes, and make sure your mail stands out from boring everyday letters and bills.

Snapfish has a wide range of stamp designs available. There’s something for every occasion – whether it’s a baby announcement or a wedding invitation. You choose a stamp to complement the photo you want to use, decide on either a rectangular or circular frame and whether you want sheets of 10 or 20. As a Royal Mail product, facilitated through Snapfish, you’re guaranteed a first class result. And you can create it on your own PC in just an hour. In this feature for Windows: The Official Magazine, I show you how.

October 9, 2012

Rachael Sharpe1 Comment

Photography Advice: Working with models

In this month’s Digtal Photographer magazine, from Imagine Publishing, I have a Career Advice feature published, which covers everything  from working ‘time for’ to releases and rights…


August 20, 2012

Rachael Sharpe

Published: Pinterest – Everything you need to know

In this article for Windows: The Official Magazine, I tell you everything you ever wanted to know about Pinterest: the web’s hot new virtual noticeboard.

Click here to follow me on Pinterest.

June 14, 2012

Rachael Sharpe

Published: Network with Facebook’s branch BranchOut App

It’s not what you know, but who you know. We all know there’s some truth in that old saying and that’s one of the great things about Facebook application BranchOut. You get to network with your Facebook friends but in a new, professional way where you can see exactly what they do and where they work. One of the most important aspects of BranchOut is being able to find connections through your extended friend network – inside connections you can make use of. Search for a company on BranchOut and see a list of friends and friends- of-friends who work there.

Setting up a profile is a pleasant experience and because BranchOut is a Facebook application, you only need to log in once and can keep your account up to date without logging into another site. The app also operates the largest jobs board on Facebook, so what’s not to like?

I show you exactly how to use it, in this feature for Windows: The Official Magazine. 

June 14, 2012

Rachael Sharpe

iPad Tutorials

Above are some sample spreads from recent iPad tutorials I’ve written for Future Publishing‘s bookazine titles: Using the iTunes Store on iOS and Importing music into iTunes. Technology is one of my specialisms, so it was a pleasure to write these, plus I had to buy myself an iPad, which was a shame…

May 30, 2012May 30, 2012

Rachael Sharpe

How to take great photos for eBay

A while ago I was commissioned by Future Publishing to write 4-page feature on taking great photos for eBay, for one of their computing bookazines. This has since been published in one of their craft bookazines too – after all, everyone wants to improve their chances of a profitable auction with great-looking images, right? Click the images below for a better look.

Make your own light tent

If you’re interested in taking better product shots, why not make your own light tent, from a cardborad box? Just follow my step-by-step instructions below:

You will need: Cardboard box / White material / White paper / White card / Glue /Tape measure or long ruler / Tape /Marker pen

Step 1: Measure & mark

With your ruler measure and mark two inches from the side of the box, on all four edges, so you’ve effectively drawn a neat square/rectangle in the centre of the box, with a two inch boarder. Do this on all four sides of the box, but leave the top and bottom alone.

Step 2: Cut it out

Cut out the squares that you previously marked in step 1 – this is a little tricky so go slowly and be careful. You also need to cut the flaps off the top of the box, so that there is no longer a lid on the structure. Leave the bottom alone.

Step 3: Get it white

The inside of your structure needs to be bright white. Cut out 16 strips which are two inches wide (length will vary depending on your box) and then glue onto the inside – make sure they are a perfect fit before you get the glue out.

Step 4: Material magic

Take your piece of white cotton (an old pillowcase works well) and cut three pieces to cover the holes you’ve made in the sides of the structure. Tape these so the join of the material to the structure is on the outside of the box. Leave one side empty.

Step 5: Build a backdrop

The side of the box which is opposite the one side without material, is where you need to install a backdrop. Cut your card so it fits the side of box and along the bottom, making a nice curved bend. You’ll display your eBay items against this.

Step 6: Top it off

Cover the top of your structure with cotton, in the same way as before. Now its ready to use – shine a desk lamp over the top of the structure and shoot your items against the backdrop, with your camera on a tripod, poking through the one free side of your light box.

April 24, 2012April 27, 2012

Rachael Sharpe

Posts navigation

Older posts
Newer posts

Follow me on Twitter

My Tweets

Enter your email address to follow this blog and receive notifications of new posts by email.

Join 2,115 other subscribers

Looking for something?

most recent Blog post

a shore thing

This summer I met Brendan Rawlings of Zen Wood Design and discovered his astonishing driftwood art. Below is the finished piece, published in Exeter Life.

September 30, 2020

Rachael Sharpe

Blog at WordPress.com.
Privacy & Cookies: This site uses cookies. By continuing to use this website, you agree to their use.
To find out more, including how to control cookies, see here: Cookie Policy
  • Follow Following
    • FREELANCE CONTENT CREATIVE
    • Join 184 other followers
    • Already have a WordPress.com account? Log in now.
    • FREELANCE CONTENT CREATIVE
    • Customize
    • Follow Following
    • Sign up
    • Log in
    • Report this content
    • View site in Reader
    • Manage subscriptions
    • Collapse this bar
 

Loading Comments...